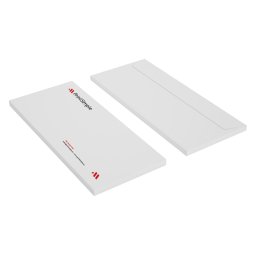
How do I indicate where the spot UV should be placed?
A special finishing that you can choose is spot-UV varnish. This is never added over the entire surface, but often on a piece of text, a drawing or a logo. To ensure that the finishing is in the correct position, you must indicate in your file where it should be placed.
Specify spot UV in your file
To create a suitable print file, it is best to use DTP software such as Adobe InDesign or Illustrator.
Note: the spot UV can cover a maximum of 30% of your design. The minimum line thickness is 1 pt.
Step 1
Select the elements where you want the spot UV. You put these elements on a new page. So, for example, if you have double-sided business cards with spot UV printed on one side, you will send us a file with 3 pages:
- page 1: the print on the front
- page 2: the spot UV on the front
- page 3: the print on the back
Step 2
Place the spot UV elements in the correct position on the new page. Everything that should not be covered with spot UV varnish, remains white.
Step 3
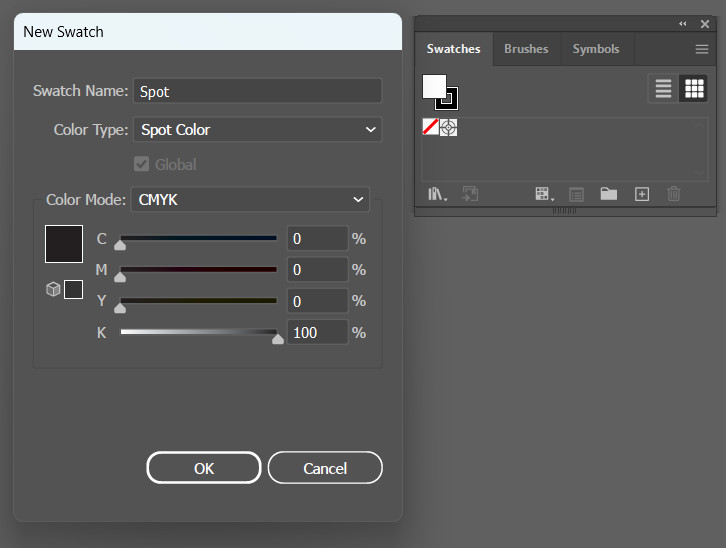
 To indicate which parts should receive spot UV, you must create a color swatch. To do this, select "new color swatch" in the "swatches" window. Create a color and give it the following values: Cyan: 0%, Magenta: 0%, Yellow: 0% and Black: 100%. Name this swatch 'Spot'. You will now see that the object is shown in black. So, this will get the spot-UV varnish.
Step 4
Save your file with the recommended PDF settings.


